With so many different types of wall paneling, you can pick the design and style that speaks to your design style!
Bored with Bland Walls? Unleash the Magic of DIY Wall Paneling!
Dreaming of a space that oozes character and charm? Look no further than wall paneling! You’ve heard the term accent wall, right? This design trend adds a touch of texture, dimension, and instant style to any room. From the rustic warmth of shiplap to the sleek minimalism of shaker panels, there’s a perfect style waiting to elevate your walls.
Transform Your Space with Style: A Beginner’s Guide to Wall Paneling
Gone are the days of plain walls! Wall paneling is a fantastic way to add character, texture, and depth to any room, creating a warm and inviting atmosphere. Whether you’re looking for a cozy farmhouse vibe or a sleek modern aesthetic, there’s a perfect paneling style waiting to elevate your space.
This beginner-friendly guide will walk you through the process of adding paneling to an accent wall, from selecting the ideal design to the finishing touches.

Before You Begin: Inspiration & Planning
- Find Inspiration: Dive into Pinterest or browse home decor magazines to discover the vast array of wall paneling styles. Consider factors like the overall mood you’re aiming for and how the paneling will complement your existing furniture and decor.
- Choose Your Wall: Select a wall that will be the focal point of the room. Often, living room walls or the wall behind the bed frame are popular choices.
Types of DIY Wall Paneling
There are several popular types of wall paneling, each offering a unique look:
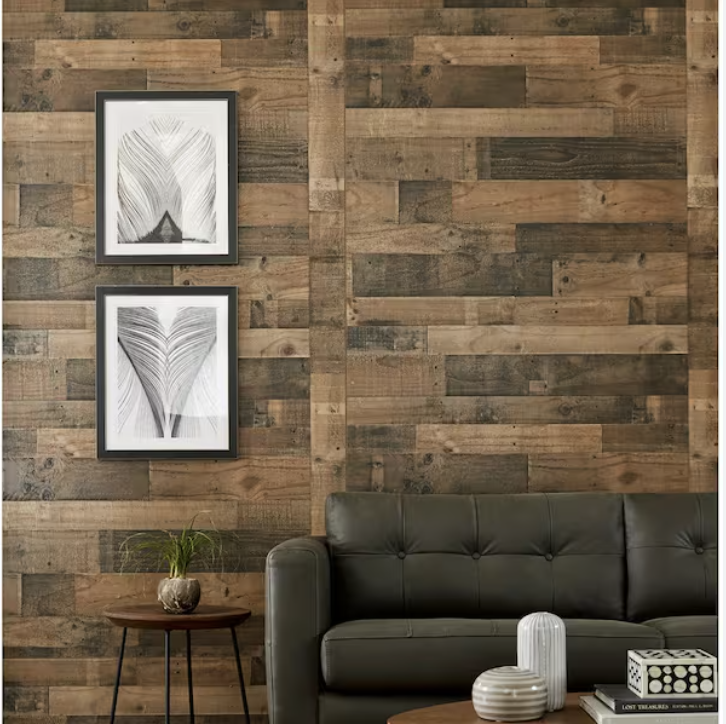
- Shiplap: Featuring overlapping planks with a rustic charm, perfect for coastal or farmhouse-inspired spaces.
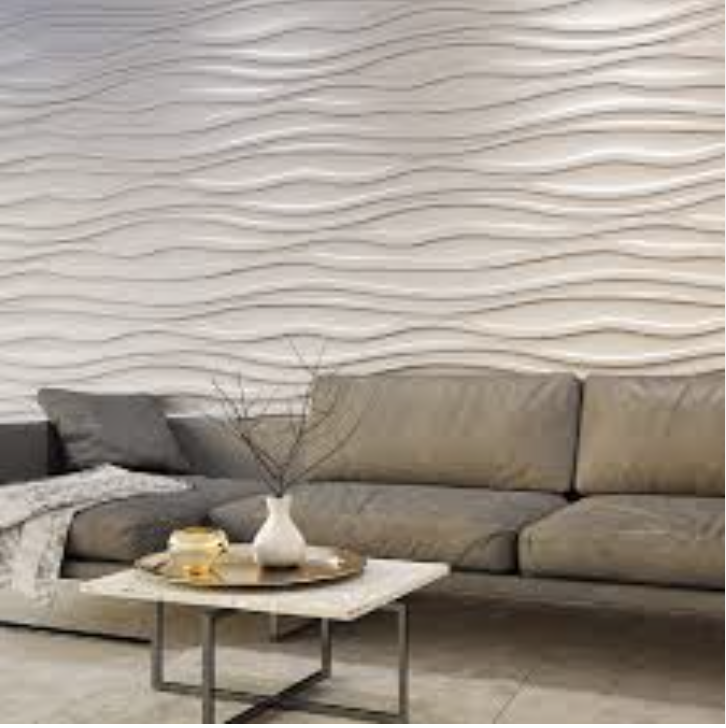
- Slatted: Offers a modern and sleek look with evenly spaced narrow wooden slats, ideal for adding depth and dimension.
- Wainscoting: Classic style featuring wooden panels on the lower half of the wall, often topped with a chair rail molding. Adds elegance and protects the wall from wear and tear.
- Beadboard: Features narrow vertical planks with a decorative bead running along the length, perfect for a timeless cottage or farmhouse aesthetic.
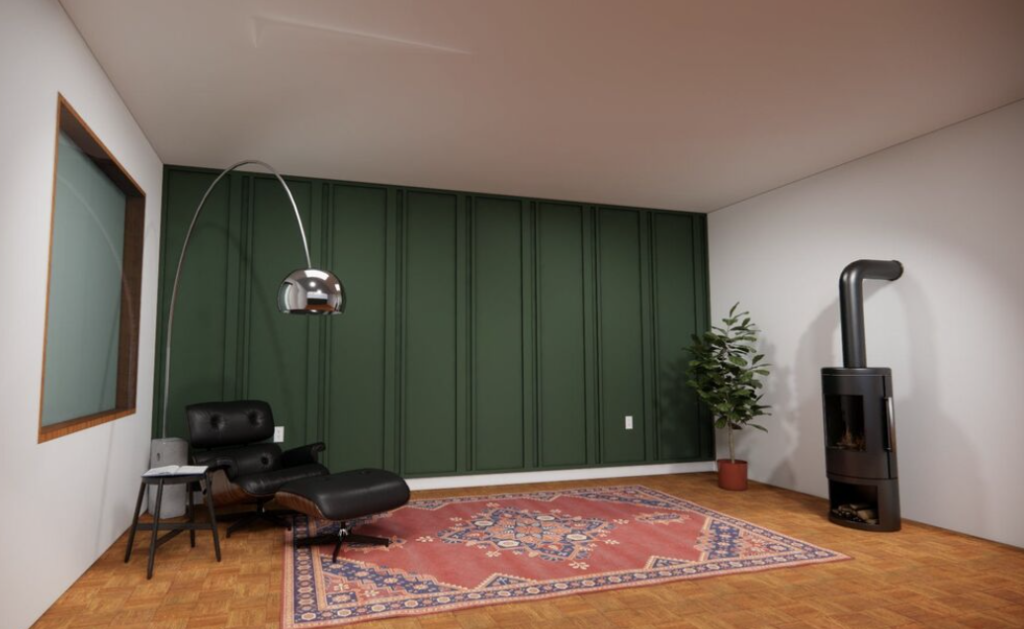
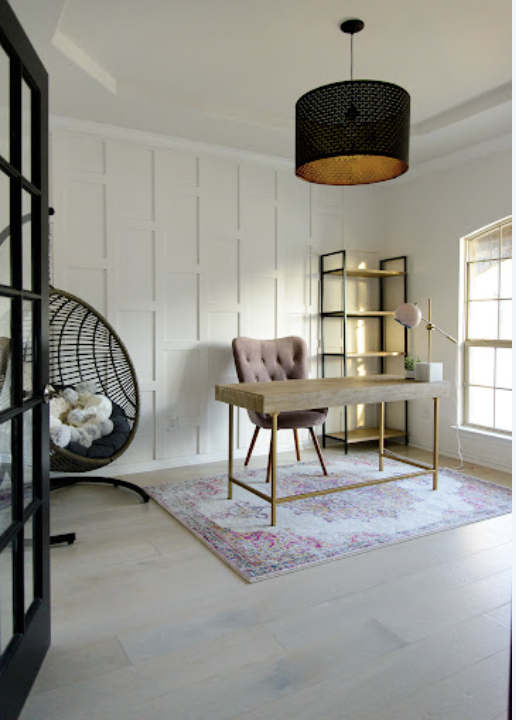
- Shaker: Minimalist style with flat panels framed by clean lines, ideal for a touch of understated elegance that complements both traditional and contemporary decor.
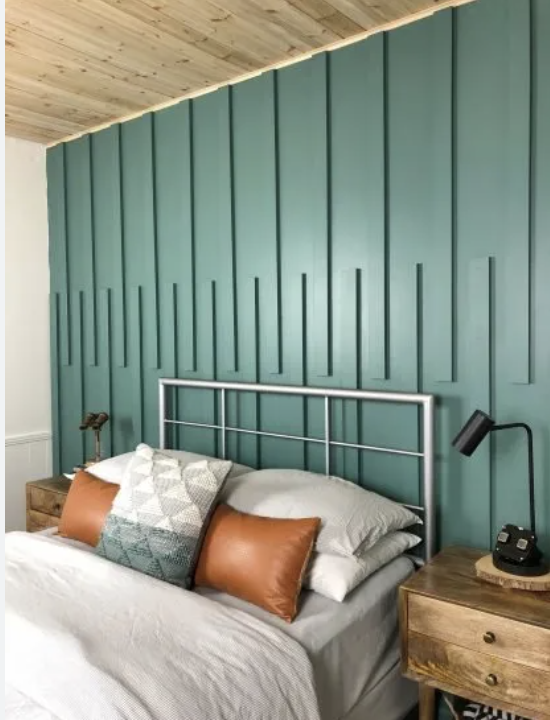
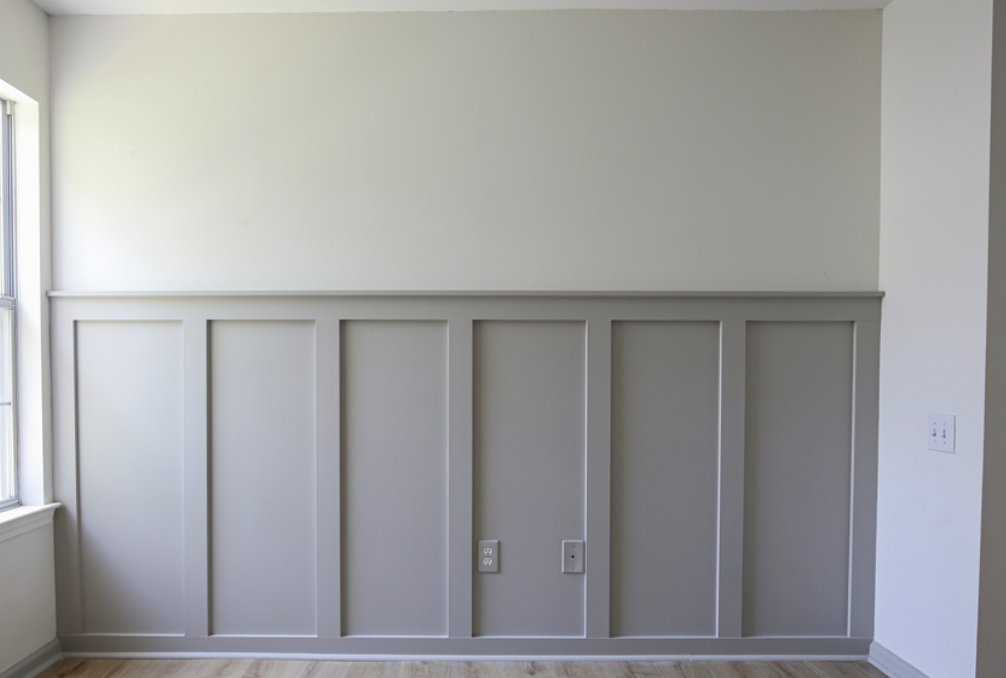
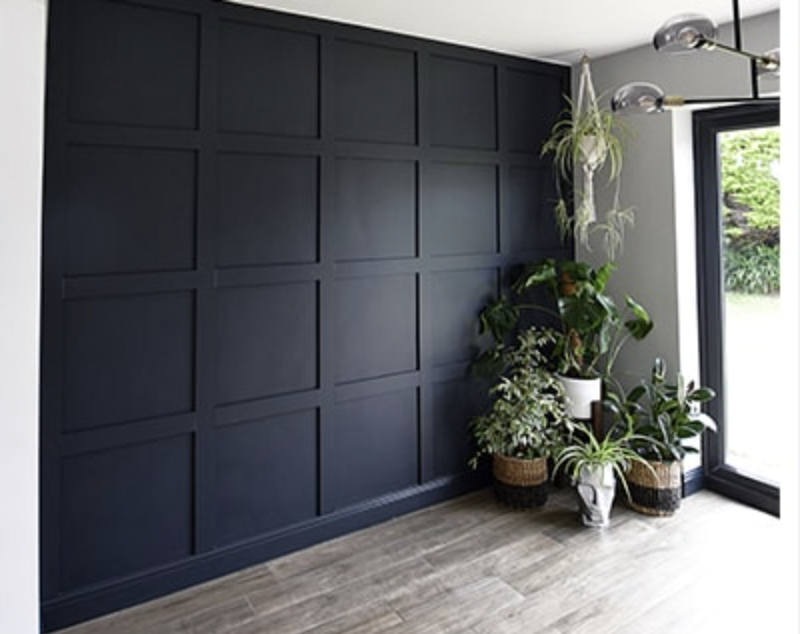
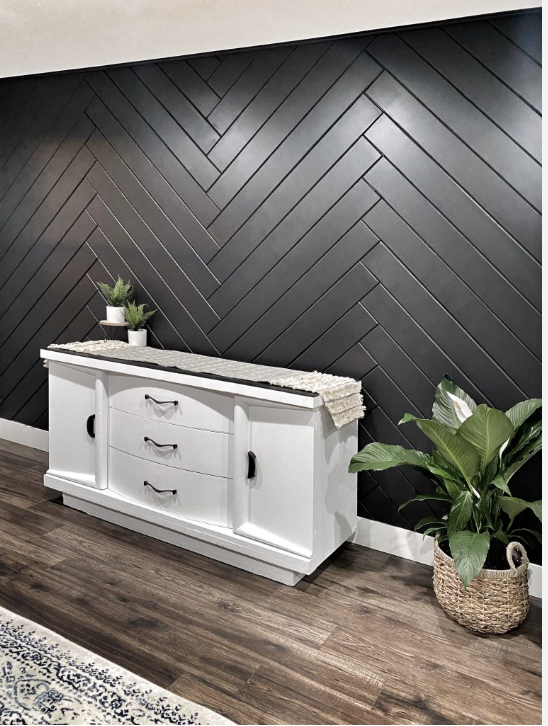
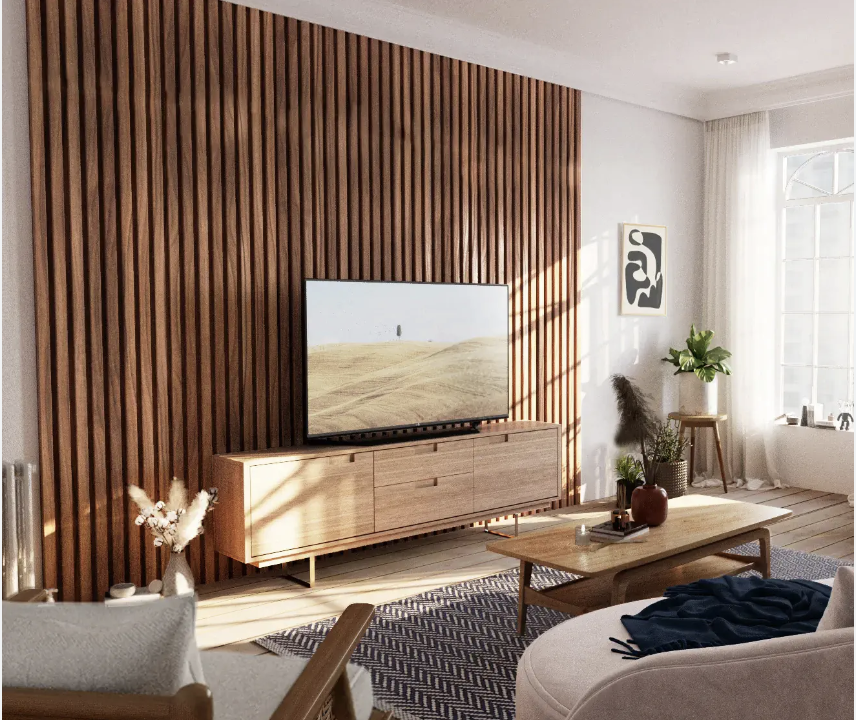
Step-by-Step Guide: Wall Paneling Magic
1. Gather Your Supplies:
- Painter’s putty
- Liquid nails
- Brad nailer (don’t forget your safety glasses when using a brad nailer)
- Wood panels (MDF or pine boards) – Include a note about the pros and cons of each material, like MDF being budget-friendly but pine offering a more natural look.
- Paint and primer (I used Behr paint in Snowbound and Behr Coney Island for the Blue/Green Color)
- Tape measure (get a tape measure that locks in place and at least 25 ft in length)
- CIGMAN Laser Level Self Leveling 3×360° 3D Green Cross Line for Construction and Picture Hanging, Rechargeable battery, Remote Controller, Magnetic Rotating Stand Included
- ONE+ HP 18V Brushless Cordless 10 in. Sliding Compound Miter Saw Kit (if needed for cutting boards)
- Caulk and Caulking Gun
- Saker Silicone Caulking Tools-3 in 1 Sealant Finishing Tool Grout Remove Scraper (Stainless Steelhead), Caulk Remover
- Paint brushes
- Drop cloths
- FrogTape Painters Tape
2. Measure your wall:
Measure the dimensions of your wall to determine how many panels you’ll need. Be sure to account for any cuts or adjustments that may be necessary to fit the panels properly.
Use your laser level to ensure the design you picked looks as you pictured in your head. Tape the outer edges first.
Next find the center of the wall, and begin working your way to the outside walls ensuring the measurements remain straight.
Before adding the boards, step back and ensure you are satisfied with your design.
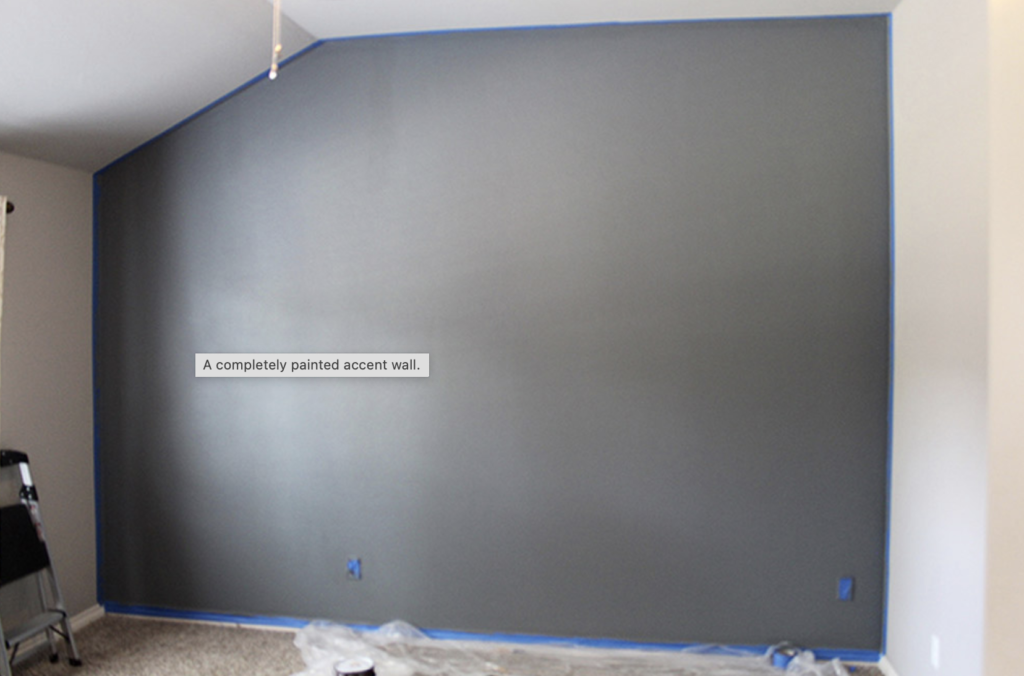
3: Cut the panels
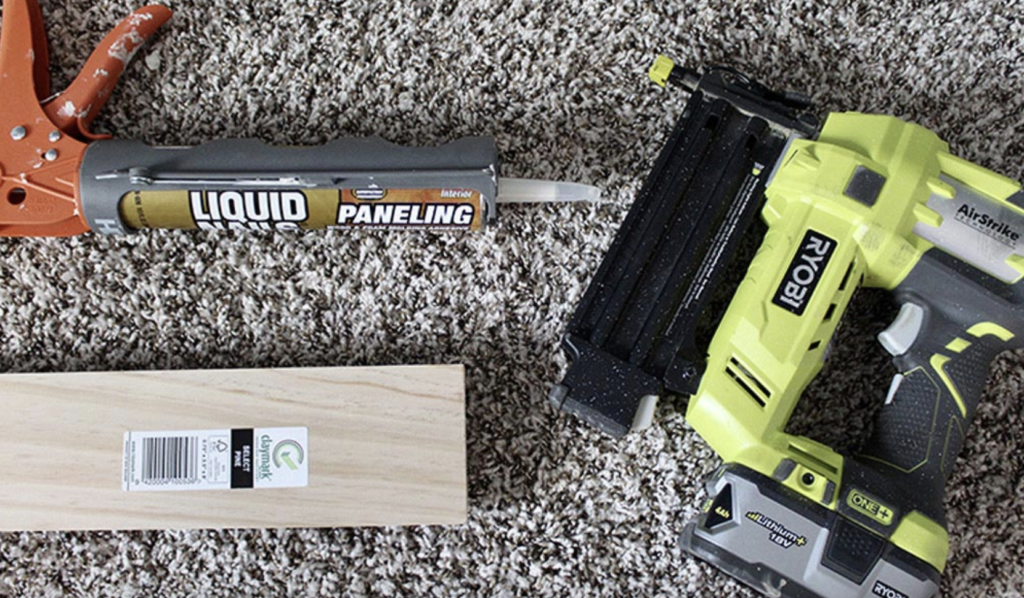
Using a saw appropriate for the type of paneling you’re using, carefully cut the panels to fit the measurements of your wall. Use a straight edge and a pencil to mark your cuts accurately.
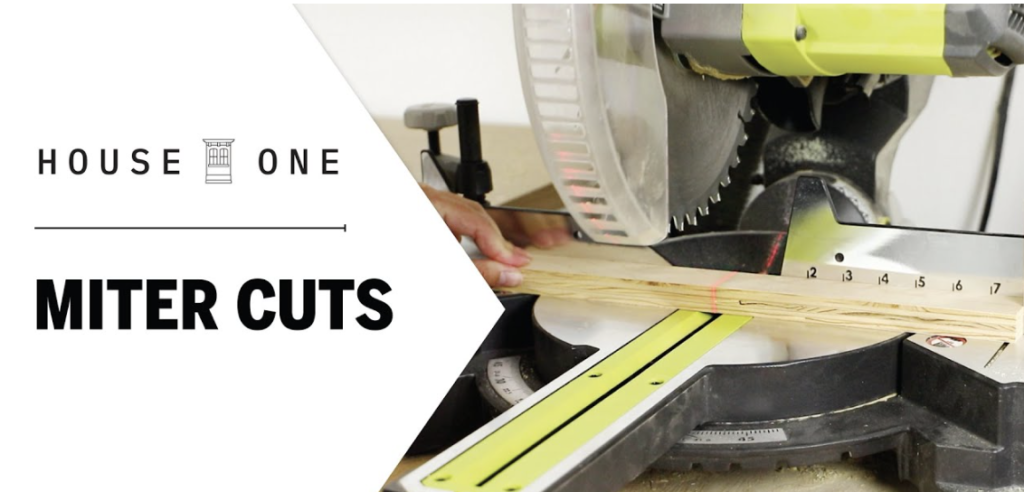
Check out this guide if you aren’t familiar with using a miter saw.
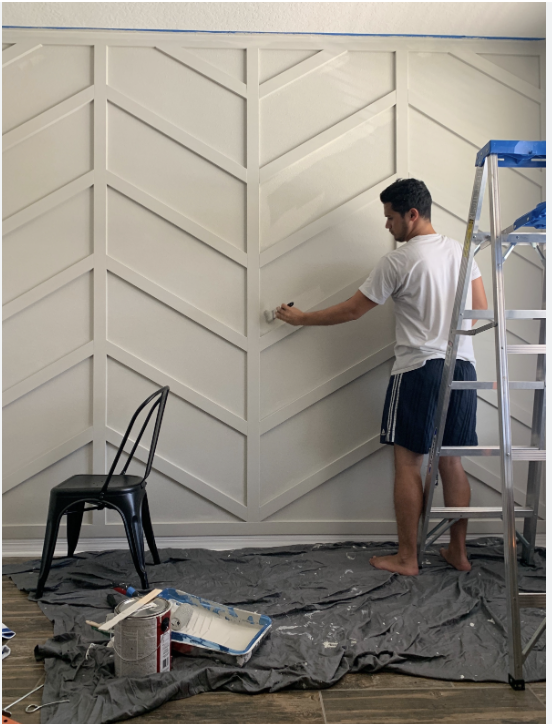
The next day, I began nailing my boards to the wall. I started with the borders/frame of the wood panel accent wall: a horizontal piece above the baseboard, a horizontal piece along the ceiling, and a vertical piece along each adjacent wall. I had to trim the horizontal pieces with my miter saw for them to fit the length of our accent wall.
4: Sand and smooth your walls
Before attaching the panels, it’s essential to ensure that your walls are smooth and free of imperfections. Use sandpaper to smooth out any rough spots or bumps, and fill in any holes or cracks with spackle.
The same goes for the boards. I always give them a light sanding and cleaning before applying them to the wall. It always helps ensure the paint goes on more smoothly.

5: Apply the panels to your wall
Starting at one corner of the wall, begin attaching the panels using construction adhesive or paneling nails. Be sure to follow the manufacturer’s instructions for proper installation.
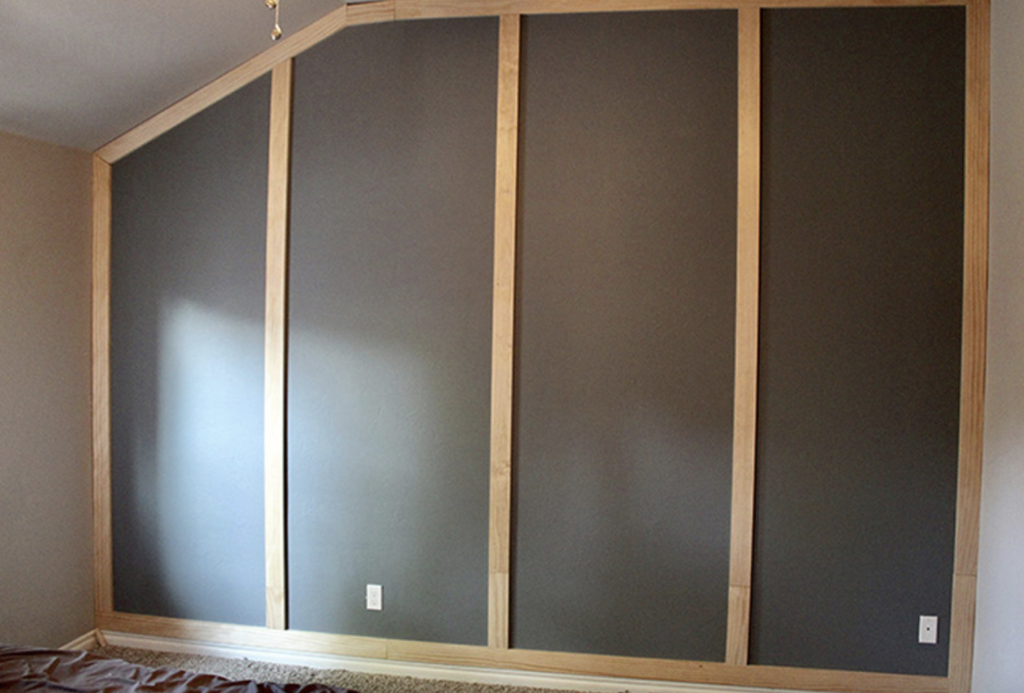
6: Fill in any gaps
After attaching the panels, use wood filler or caulk to fill in any gaps between the panels and the wall. This will create a seamless look and prevent drafts or moisture from seeping through.
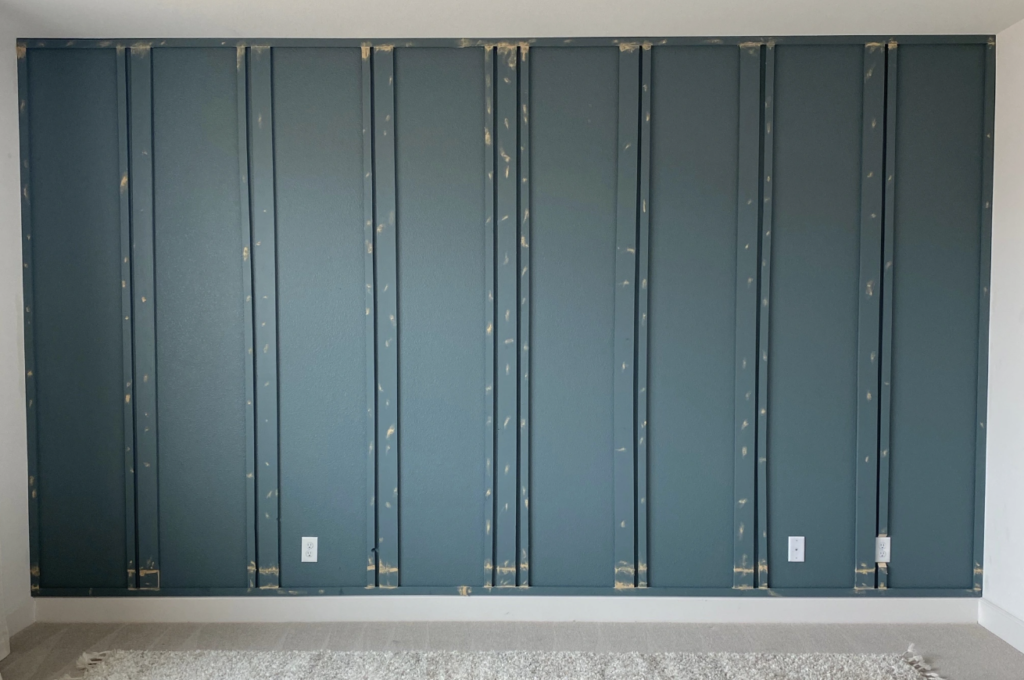
7: Prime your panels
Once the filler has dried, apply a coat of primer to the panels to prepare them for painting. This will help the paint adhere evenly and ensure a smooth finish.
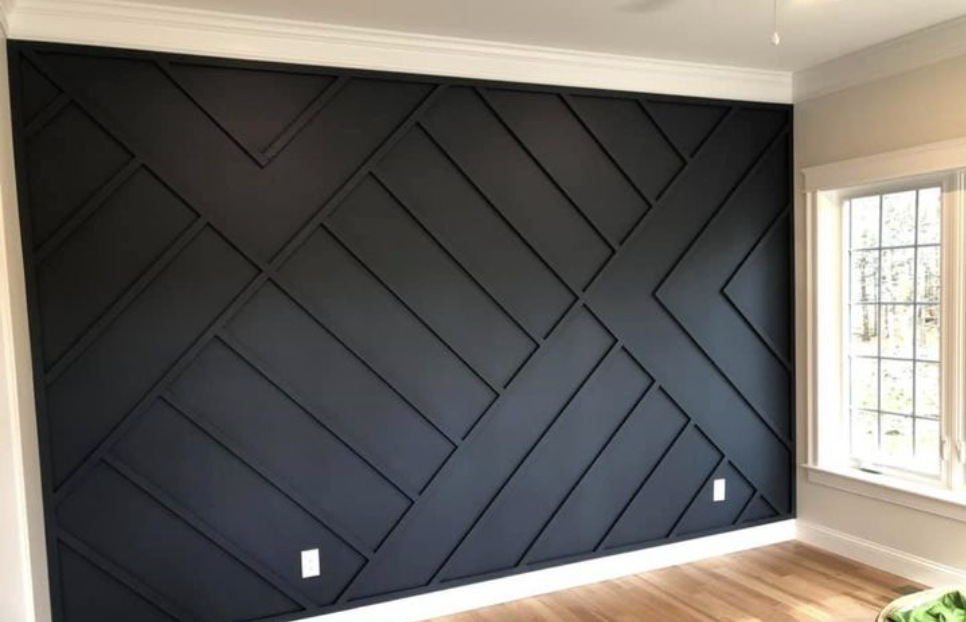
So you can either a. prime and paint your panels BEFORE installing them on the wall or Install the boards on an already painted wall and prime and paint afterward. I’ve done it both ways. It’s easier to paint the boards when not on the wall, especially when doing a design like the one above. Either way, you will need to touch up the paint after installing the wall paneling and after you fill in the nail holes and gaps between the boards.
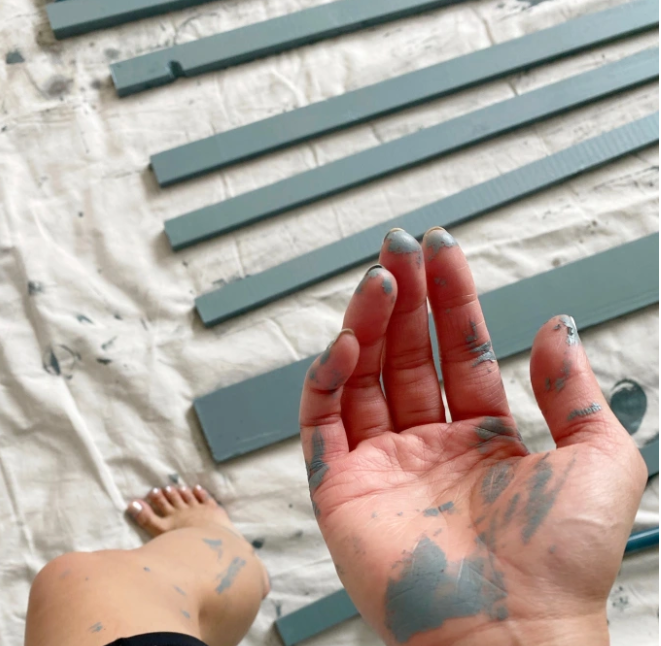
8: Paint your wall panel
Finally, apply a coat of paint in the color of your choice to complete the look. Be sure to use a high-quality paintbrush or roller for best results, and allow the paint to dry completely before enjoying your newly paneled wall.
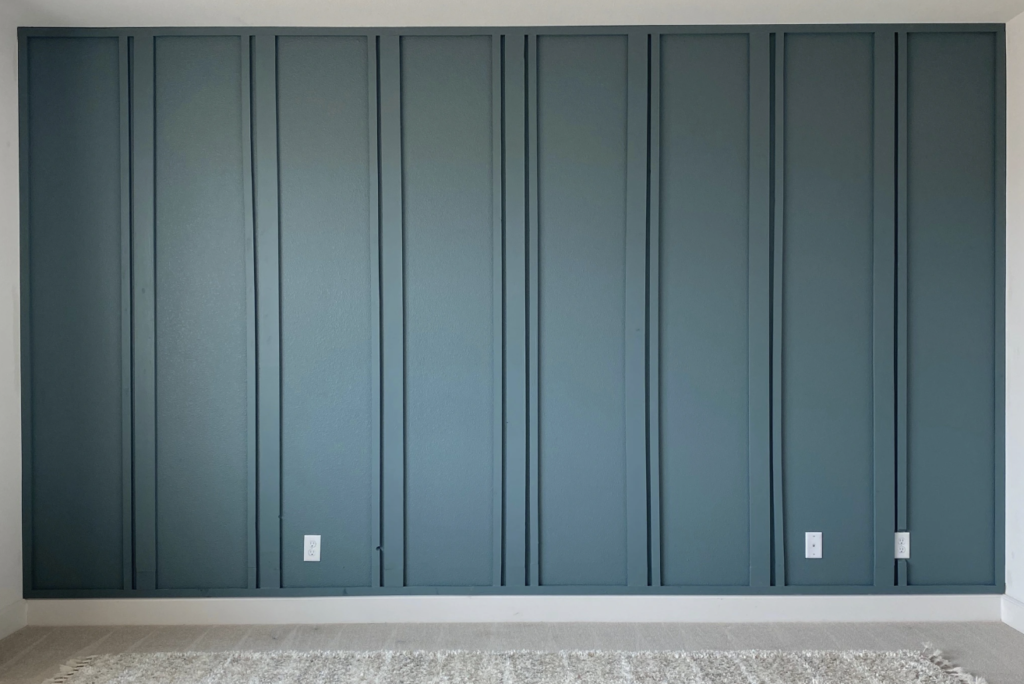
and Finally, a finished product!
With the right materials and a bit of patience, paneling a wall can be a rewarding DIY project that adds instant style and sophistication to your home. Whether you opt for classic wood paneling or modern PVC alternatives, the possibilities are endless when it comes to transforming your space. Follow the steps outlined in this guide, and soon you’ll be enjoying a beautifully paneled wall that enhances the beauty of your home.
Bonus: Resources for Further Inspiration
- https://www.homedepot.com/c/ah/how-to-make-a-board-and-batten-wall-accent/9ba683603be9fa5395fab90118469a03
- https://www.lowes.com/pl/Spruce-pine-fir–Wall-panels-planks-Moulding-millwork/4294518228?refinement=4294402672
I hope this improved guide empowers you to create a stunning paneled accent wall in your own home!
Get my free project template here!
Stay in the loop

